Visiting Japan offers a chance to explore an intricate network of efficient and interconnected public transportation options, much like in Singapore.
Your experience will not be complete without taking a ride on various transport modes such as the subway, bus, Shinkansen (bullet trains), tram, and more. The ease of moving around makes the experience far from complicated.
An important question for travelers might be, "how do I pay for all these rides?" Don't worry! This article will provide you with step-by-step instructions on how to purchase a Welcome Suica card, an e-money for public transportation in Japan. Be sure to read all the way to the end!
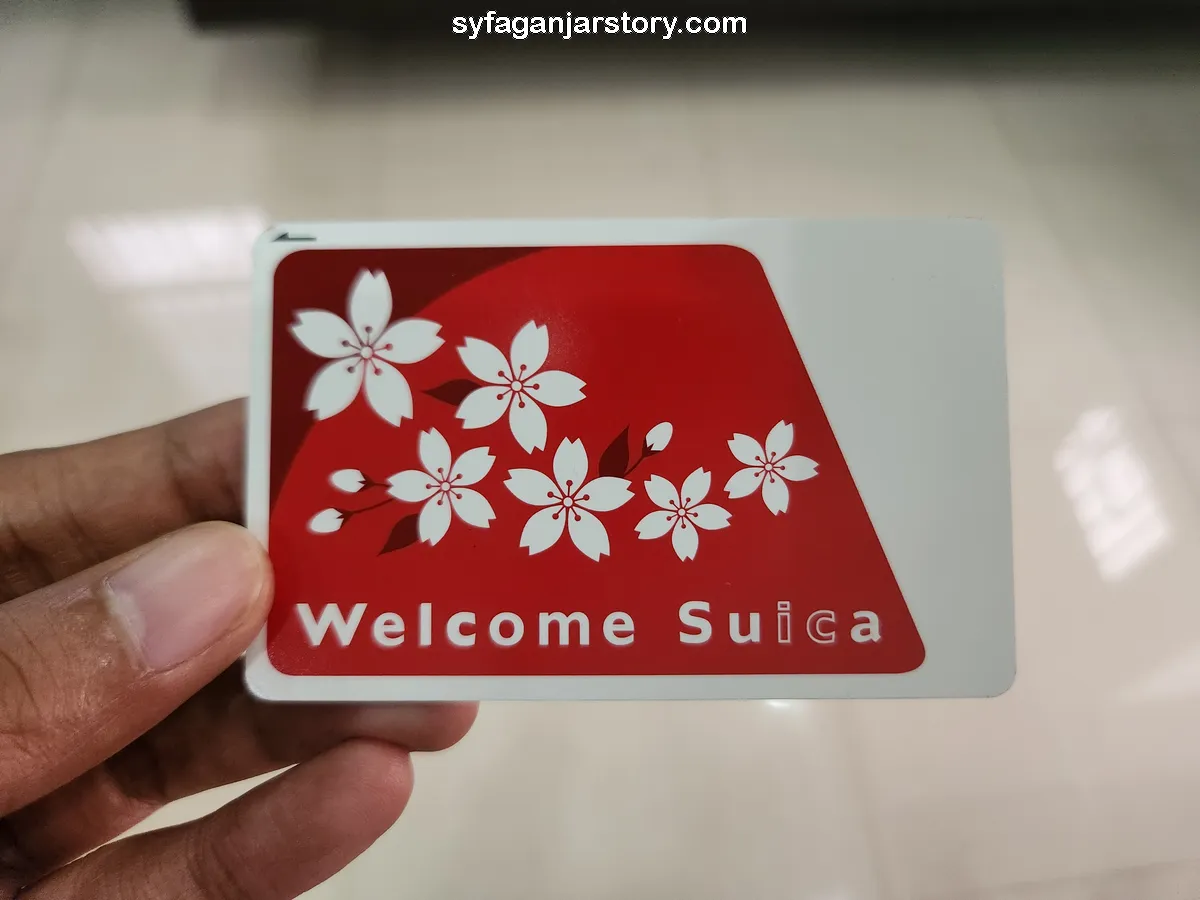
The Welcome Suica card is a pre-paid IC (Integrated Circuit) card, also known as e-money, designed by Suica specifically for foreign tourists visiting Japan. It's a universal pass that can be used to pay for a variety of public transport modes, including JR trains, subways, buses, tram, and even some taxis.
Beyond public transportation, you can also use the Welcome Suica card as a form of payment at various other facilities such as vending machines, cafes, restaurants, station shops, and more. If you're familiar with Singapore's EZ-Link card, then you will find the Welcome Suica card's concept quite similar.
With this card, we don't have to purchase train tickets from a machine each time. Simply tap your Welcome Suica card at the ticket gate and the fare is automatically deducted from your card balance.
In addition to JR trains, this card can be utilized on subway systems and buses as well. To see where you can use your Welcome Suica card, check the Welcome Suica Map.
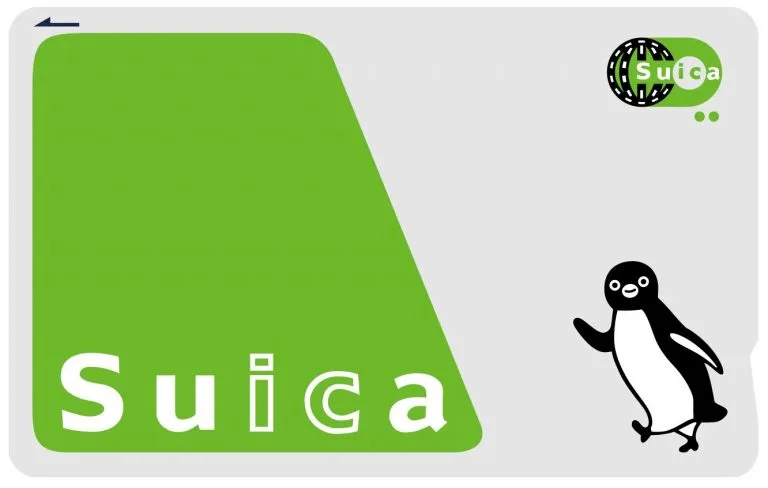
A common question arises about the differences between the Welcome Suica card and the standard Suica card. Functionally, both cards serve the same purpose. Nevertheless, the "Welcome Suica" is tailored for foreign tourists in Japan, leading to several notable distinctions between these two types of cards:
The Suica card has a long lifespan, remaining valid for 10 years. In contrast, the Welcome Suica card is designed for shorter-term use, with a validity period of only 28 days. Consequently, once this period expires, the Welcome Suica card becomes unusable.
With the regular Suica card, you'll need to pay a 500 yen deposit, which is refundable if you return the card. It can be topped up with increments of 1,000 yen, up to 10,000 yen, and the initial top-up includes a 500 yen deposit.
The card can be returned to the station at any time to get your 500 yen deposit back. On the contrary, the Welcome Suica card requires no deposit but is non-refundable.
If you return a regular Suica card, you can also get a refund for any remaining balance on it. However, this is not the case with the Welcome Suica card; any balance left on this card is non-refundable.
Beyond these differences, there are other minor differences between the Suica and Welcome Suica cards worth considering before making a purchase. For more comprehensive information on these differences, see the article below:
You can purchase a Welcome Suica card from JR East ticket counters at the airport or at major stations in Tokyo. Alternatively, specialized machines at Narita and Haneda Airports also dispense these cards.
Please note that Suica cards are issued by JR East and can only be purchased within JR East's operational area in and around Tokyo City. If you're in another region, you'll need to buy a card issued within that region.
Here's an account of my husband and I purchasing our cards upon arrival at Narita Airport Terminal 1, which we found to be simpler and less hassle than exchanging it at the ticketing office.
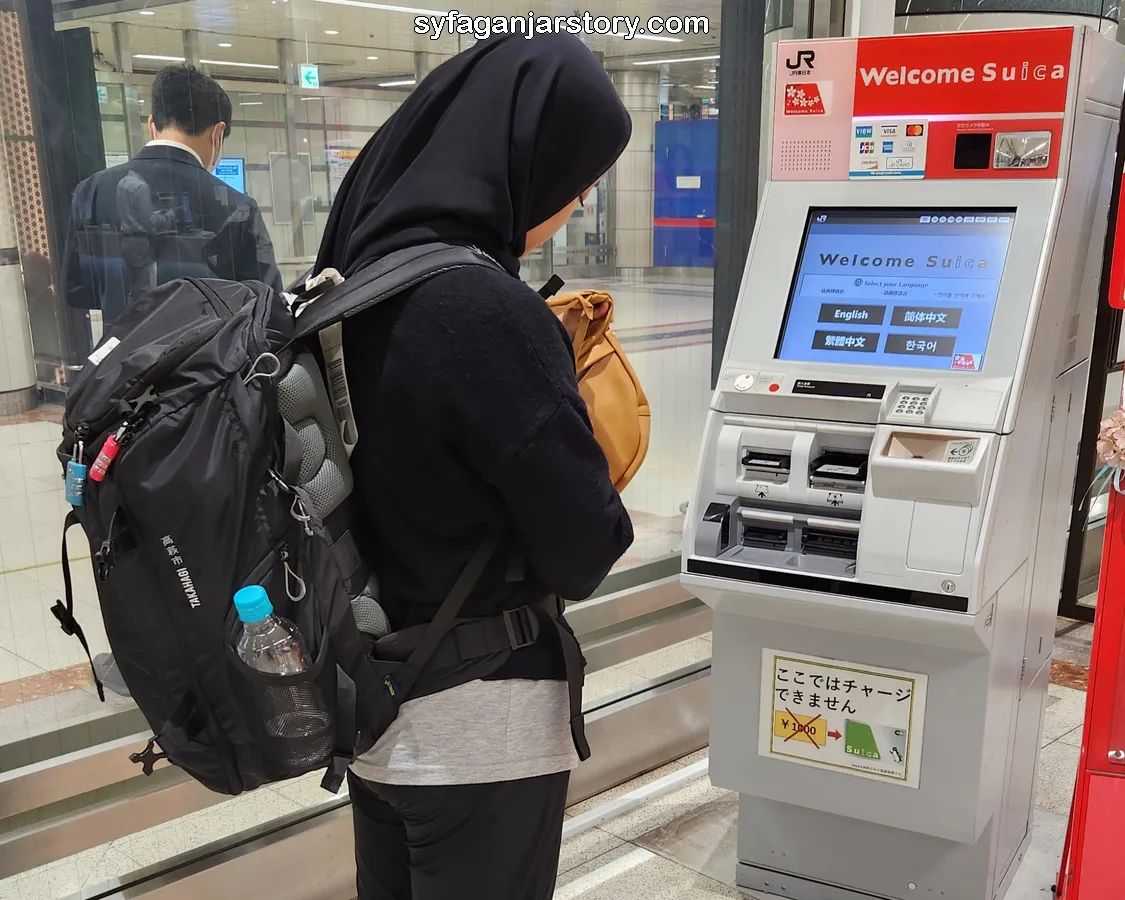
Start by locating a Welcome Suica card vending machine. It's worth noting that these machines are not available at all stations in Japan, so finding out the location in advance is advised.
You can find these machines at Narita Airport Terminal 1 Station, as well as at Tokyo Monorail Terminal 2 and Terminal 3 Station at Haneda Airport. In other words, these machines are primarily available at airports.
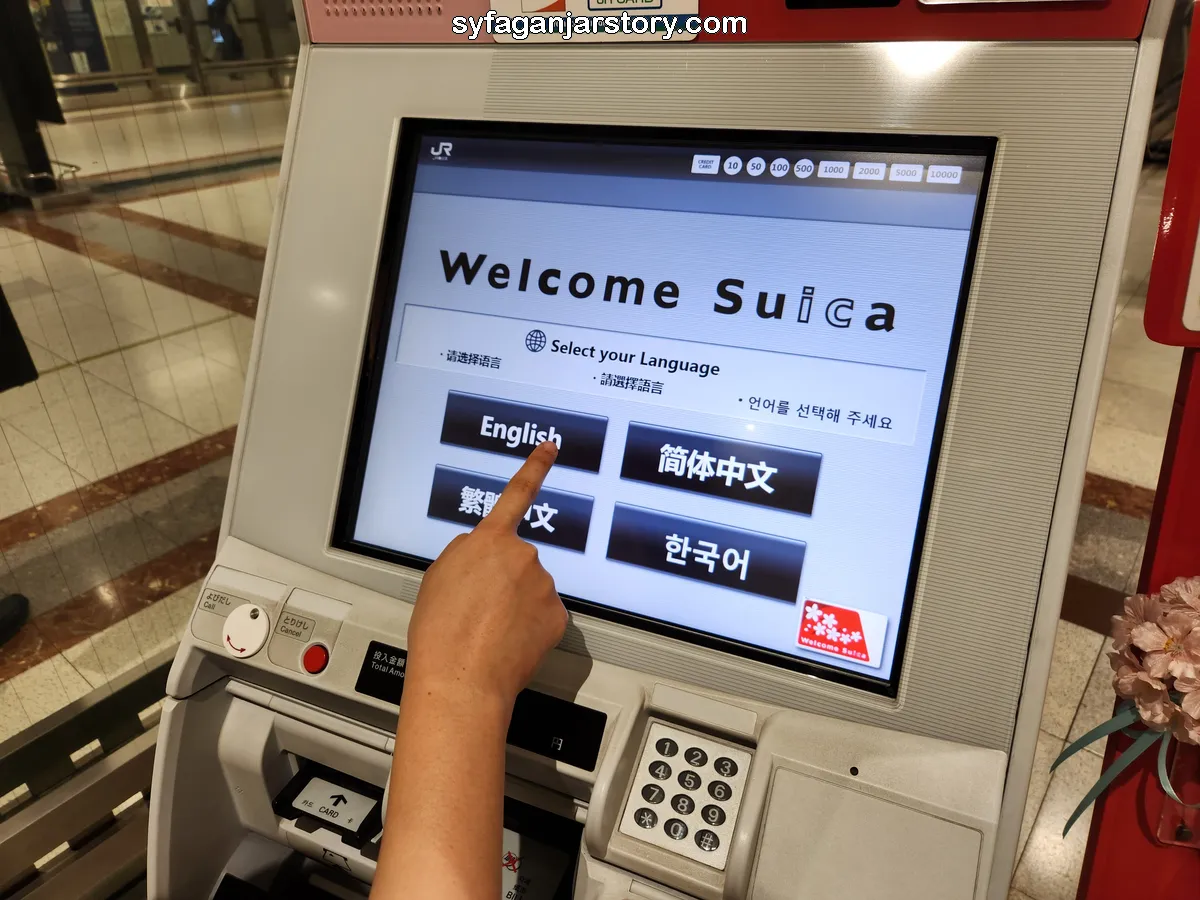
Upon locating the machine, you'll find that the main screen displays available language options. Since there was no option for Indonesian, and I didn't understand Japanese, I selected English. The machine also offers language options in Korean and Chinese.
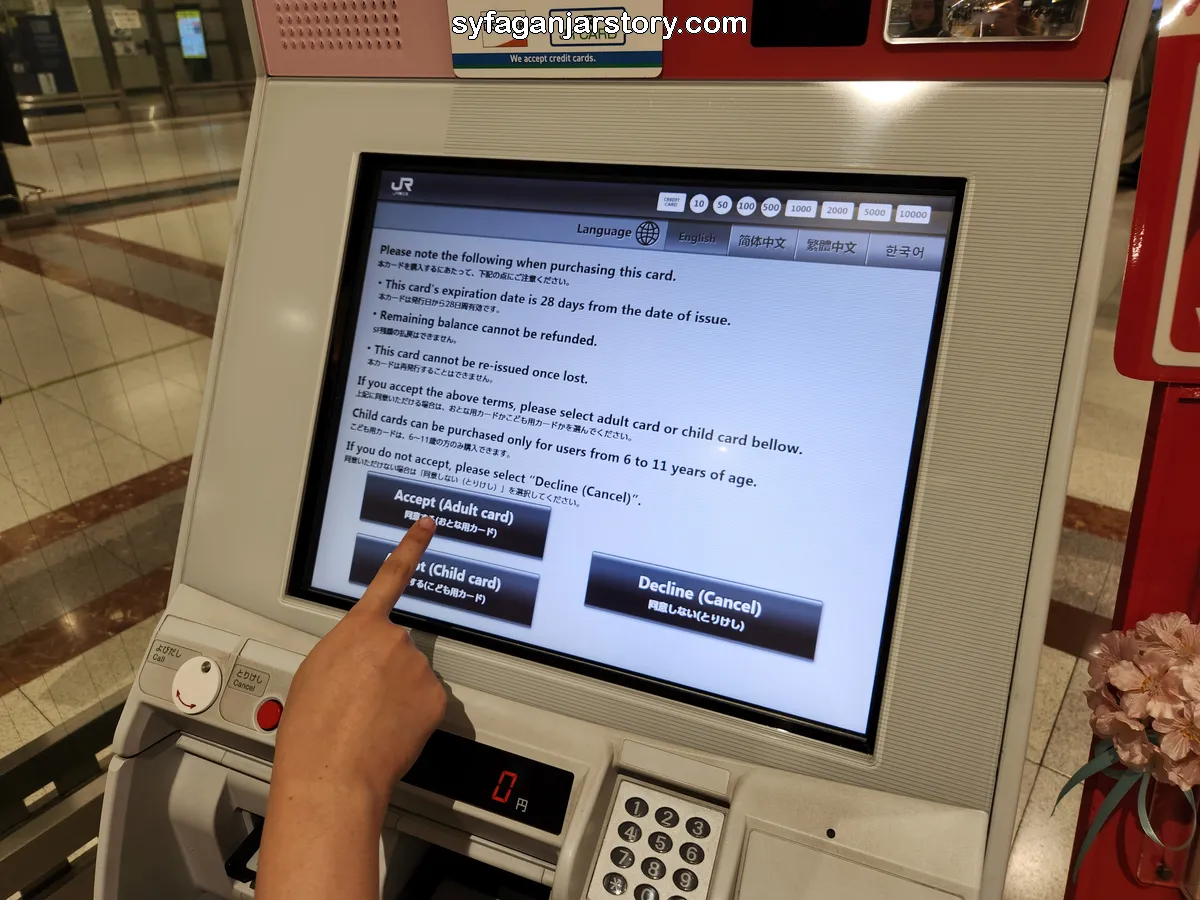
Once you've chosen your language, the machine will display options for card type selection. The Welcome Suica card comes in two variants: adult and child (for ages 6-11). The card is explicitly designed for tourists with specific features:
If you agree with these terms and conditions, select the "Accept (Adult Card)" button. For those traveling with children aged between 6 and 11, select "Accept (Child Card)". If the conditions are not satisfactory, you can always opt for "Decline (Cancel)".
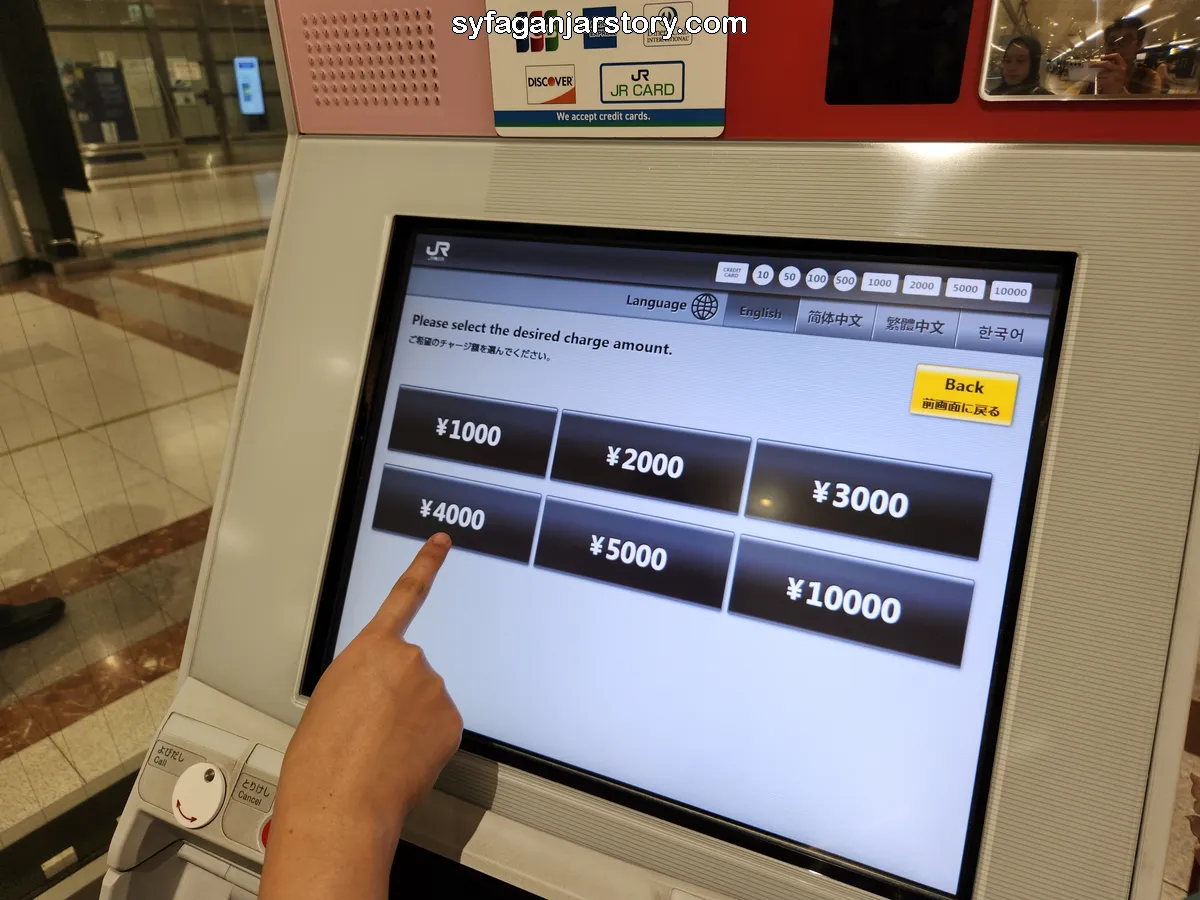
After choosing the type of card, you'll need to select how much money you want to load onto your card. The Welcome Suica card doesn't come with any pre-existing balance, so your top-up amount will not be reduced by any card fees.
I decided to top up 4000 yen (roughly equivalent to USD 28) to avoid frequent top-ups. It's important to note that the subway fare in Japan can be quite high, so a 4000 yen top-up doesn't stretch as far as you might think.
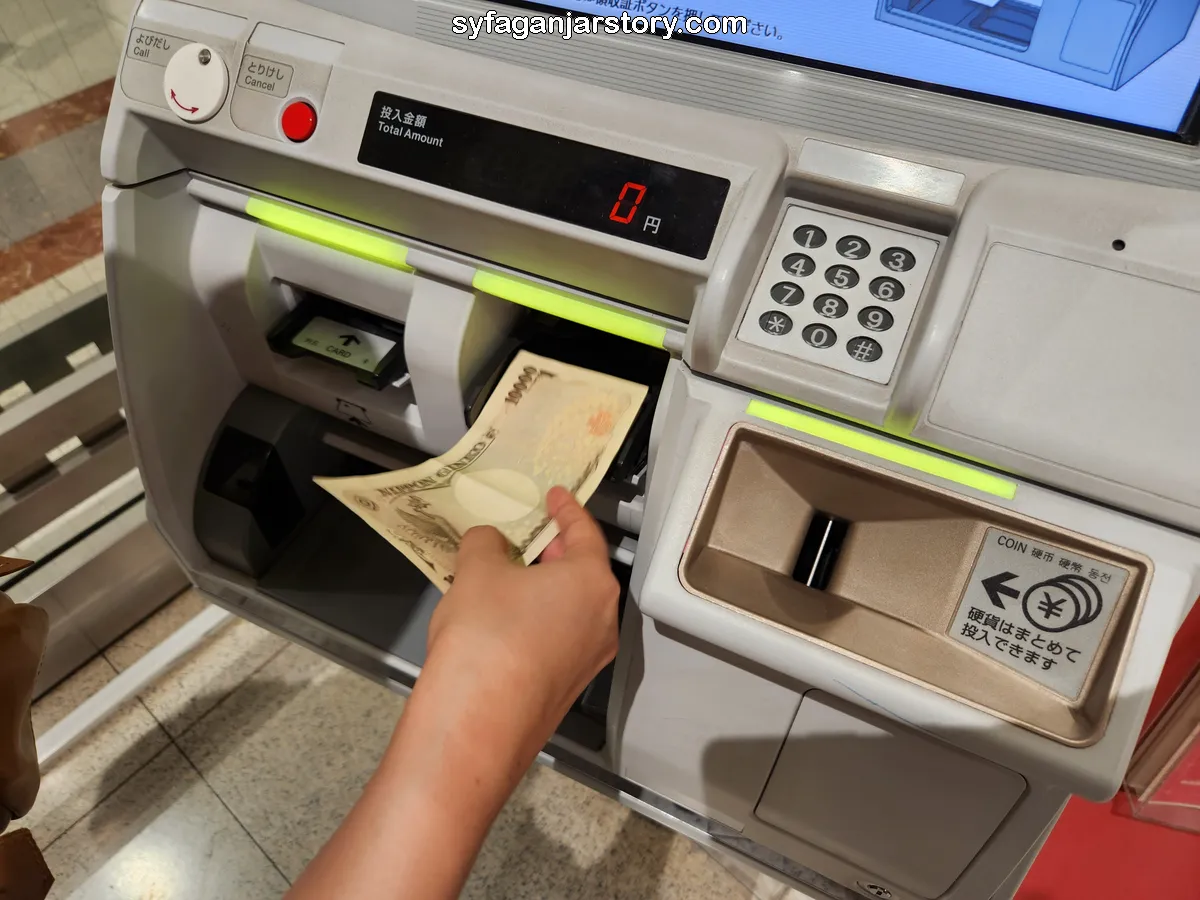
Next, the machine will guide you through is to insert your payment. At that time, all I had were banknotes, but if you have coins, there's a special slot on the machine for them too.
Once you've inserted your payment, the machine will display the amount you've entered. This feature helps you keep track of your payment without needing to remember "how much did I put in?".
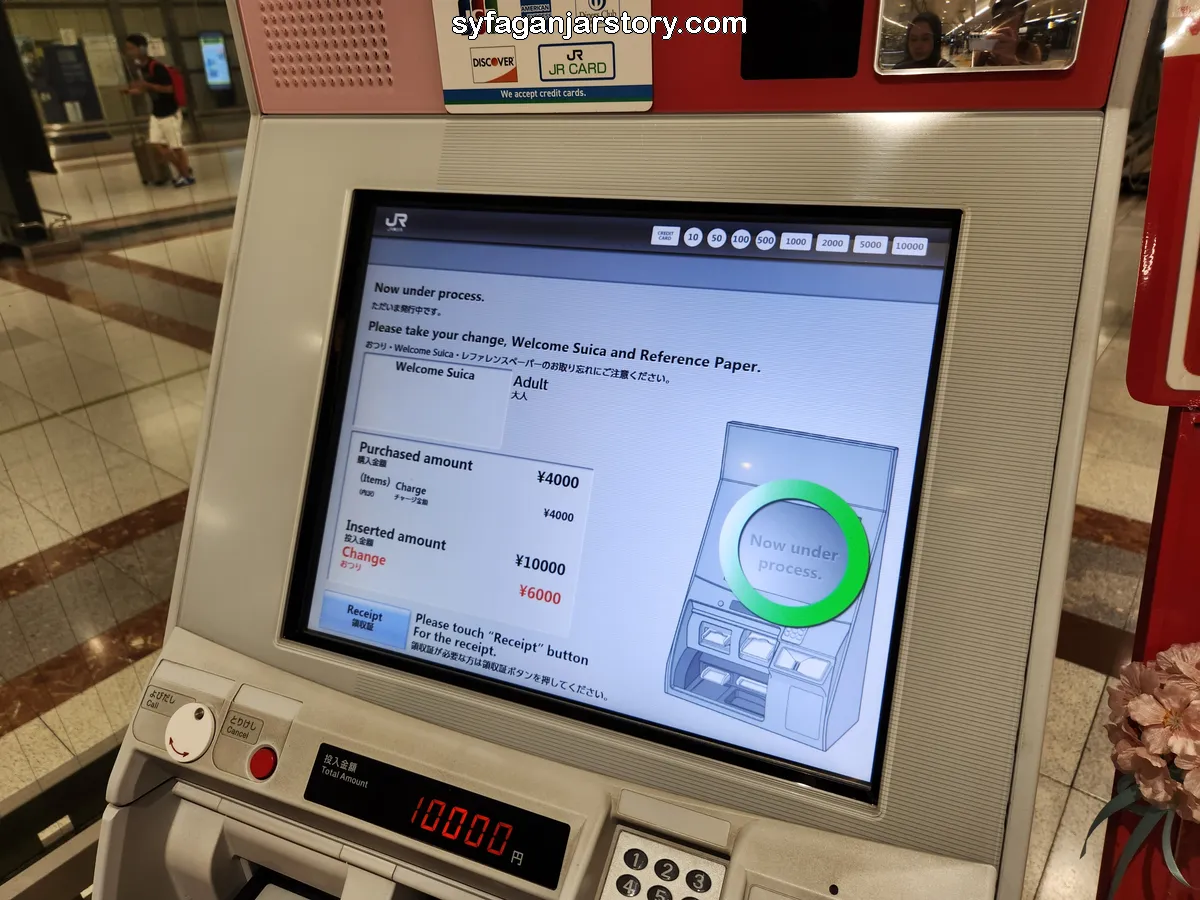
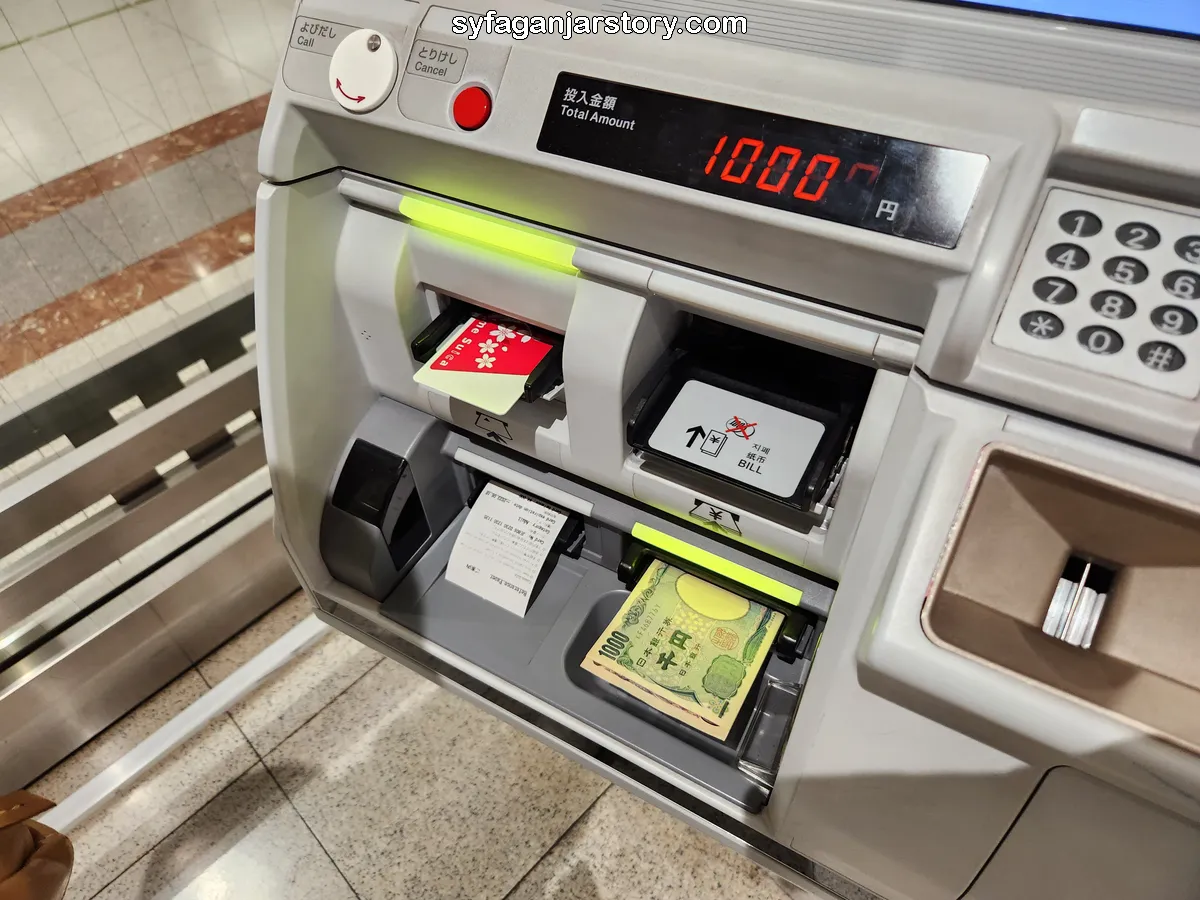
After that, wait for the process to complete. You'll see a message on the screen indicating "Now Under Process". Upon successful completion, the machine will dispense any change due, the Welcome Suica card, and a Reference Paper.
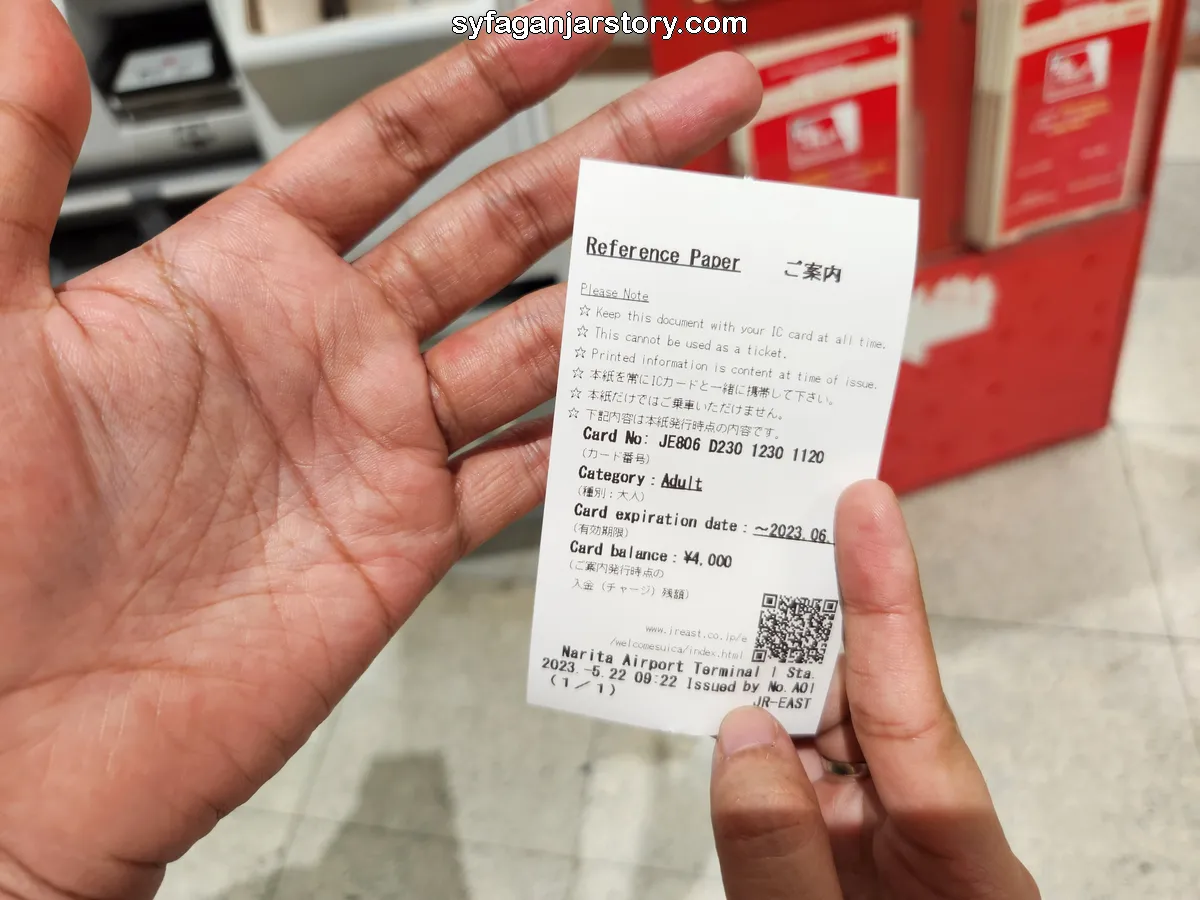
This Reference Paper is important as it details the card's validity period, its number, and the current balance. It's essential to carry this paper with you at all times while using the Welcome Suica card, as officers may request to see it.
After the entire process is finished, remember to collect your card, any change, and the Reference Paper. You're now ready to use your Welcome Suica card. In case you need to reload your card's balance at a later stage, refer to the article below for instructions on how to top it up:
So, that's it! From my experience, this card is ideal for tourists. Its validity is limited to just one month, and there's no obligation to retain or return the card afterwards.
If you plan to revisit Japan, you can simply purchase a new card, as individual registration isn't available. This card is particularly suited to short vacations lasting 1 to 2 weeks. You can simply load it with money and use it until it runs out.
On my last day in Japan, I had about 500 yen remaining on my Welcome Suica card. As I didn't want to waste the remaining balance, I used it to buy a coffee from a vending machine at Fukuoka Airport. It's as easy as that!
If you're visiting the Kansai area, including Osaka, Kyoto, Nara, Kobe, and others, you'll find ICOCA cards instead of Suica. You can refer to another article for a guide on purchasing ICOCA cards.
I hope this guide proves useful to those planning a trip to Japan. Look forward to more articles on Japan!