The original Japanese version is available here.
It’s very first day of our “Golden Week” in Japan. We don’t have any Covid-19 restriction in this holiday season. So we expect to have a lot of people moving around Japan. But unfortunately it was heavy rain since this early morning … I normally work at home and some tasks in the office need to be completed sometime soon. So I went to the office in this heavy rain to setup network printer in the network. Originally IT supporter in Tokyo got this task and cabling in local office is a main task of IT support or users. I’m not sure why but they assign this task to me. They can just travel to my office and setup the cable by himself 🙁 But it’s OK. I went to the office by car on a highway. It was so heavy rain and I thought I may loose control of my steering work. Be careful when you drive in heavy rain.
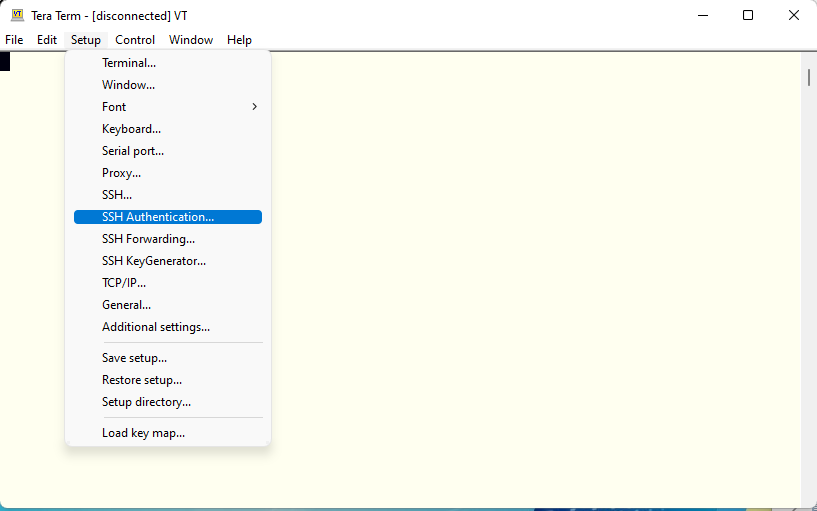
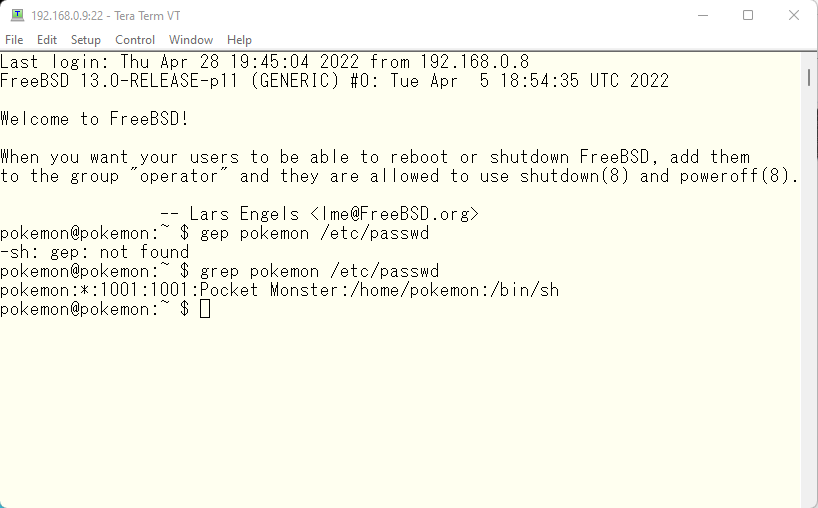
So, we have installed the operating system and want to start customization from now on. However, don’t you think this console is not convenient enough to work with ? We can’t use multiple shells, copy and paste is not easy operation. And we always need to change the mouse control between vmware player or Windows. So I want to use SSH to logon to our FreeBSD system. I know many terminal emulator software support SSH2. But my recommendation is Tera Term.
We will have a lot of search result when we search tera term in google. But I got it from here. The latest version now seems to be teraterm-4.106. The original tera term site is here. And my link I got tera term from seems to be the successor of the original link here. It should be very easy to install the tera term. We can just run exe file and follow the instruction in it. Then everything should work as expected. Only one thing for none native Japanese people. This terminal emulation support multi language. So we can use our own locale in it. The supported languages are Russian, Korean, UTF-8 and Japanese. The UI language has more options.
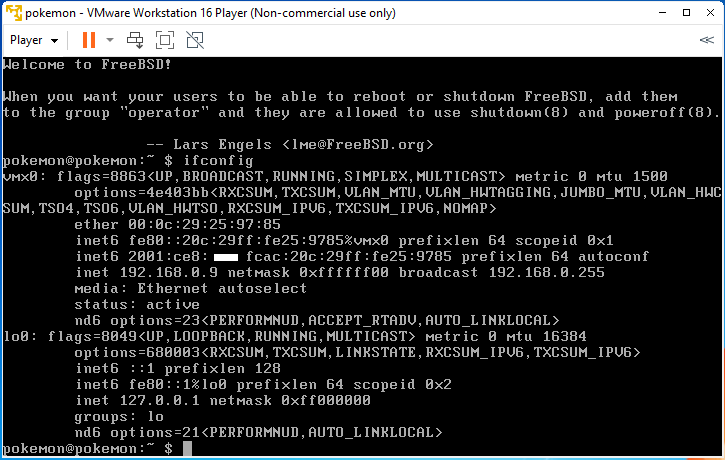
Just confirm what IP addresses our FreeBSD server has.
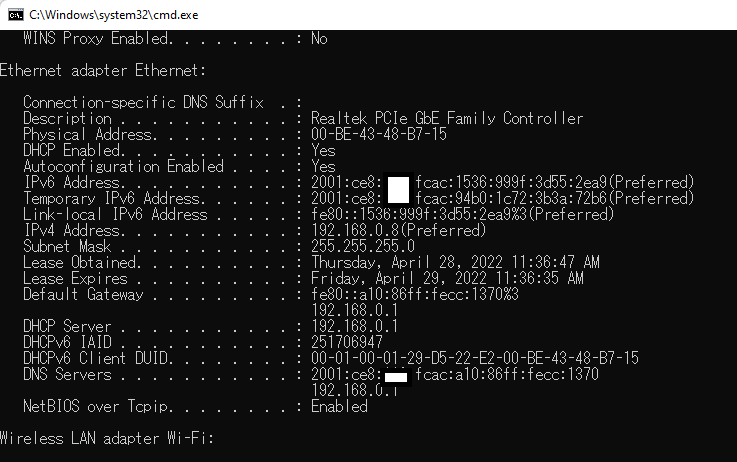
This is an example of my own Windows PC which I installed Tera Term on. The IPv6 address is the unique global IPv6 address. The Liink-local address is the IPv6 address which we can use in single network segment. We always need to use this address with interface name with the link-local address. The Temporary IPv6 address is another global IPv6 address to hide proper IPv6 global address away from connections to other public sites. If the source address of all connections from this Windows PC is temporary address, then nobody knows what the proper IPV6 address for my PC. This is kind of security feature in IPV6 networking.
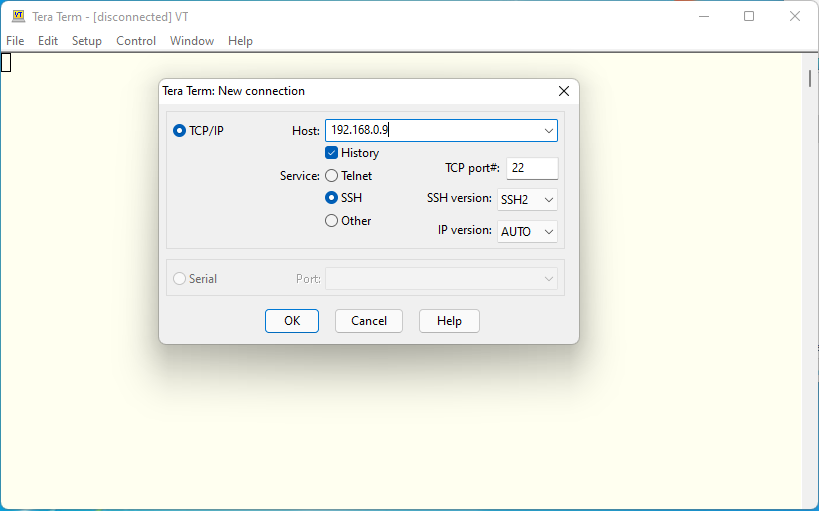
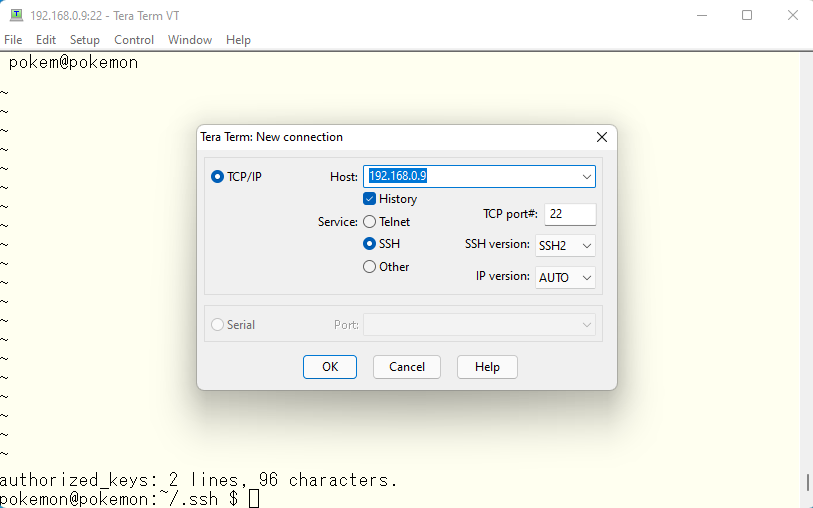
Try to establish a connection to our FreeBSD server.
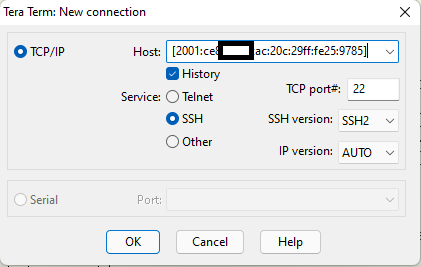
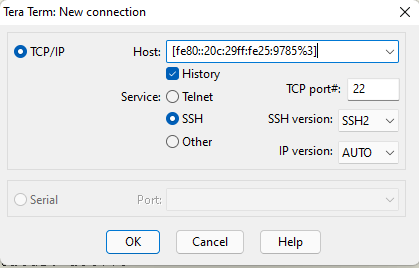
We use the IPv4 address we got from out FreeBSD server. Any of IP addresses such as Link-local IPv6 address, Global IPv6 address or IPv4 address can be used to establish SSH connection. When we use IPv6 address, it must be enclosed by []. For example, we can use [::1] to establish connection to the loop back address. As I wrote above, we need to use interface id when we use link-local address. This example shows how IPv4 address can be used.
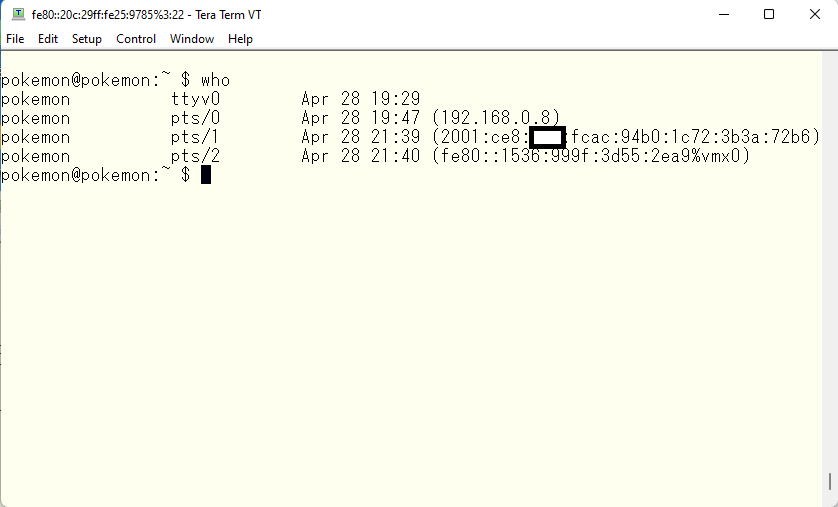
This is the output from “who” command. We can see what IP address we used in Windows client. The first one is console connection. So we don’t see IP address. The second one is IPv4 address. The third one is IPv6 glbal address. As you can see Temporary Address on Windows client was used to connect to. The last one is the Link-local address. We see the interface name along with IPv6 address. The Link-local address can’t be used when we connect other devices behind routers. So we will use IPv6 global address as the source address when we establish connections to any devices in the internet. Or the Temporary address in Windows client to connect to all IPV6 devices in the internet. I can show you how we configure Cisco routers, switches or firewalls later on.
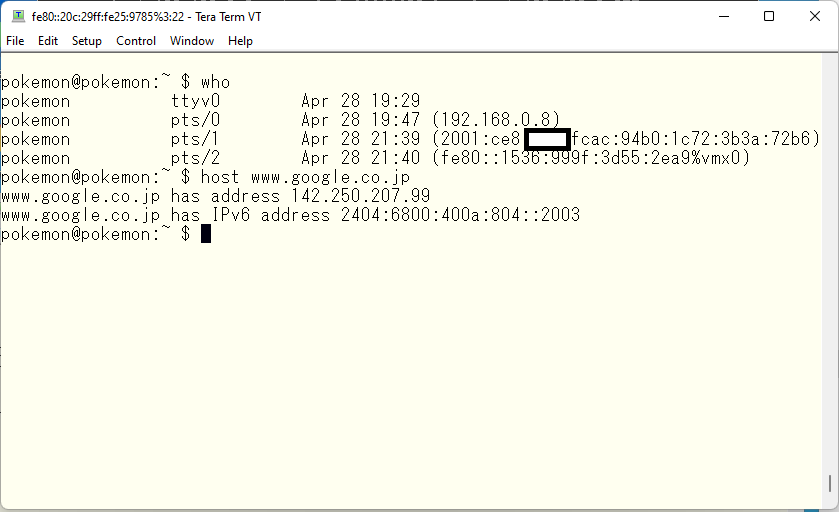
As we try to establish connection in the same network segment, we can use any of IP addresses to establish connections. But I will use IPv4 address to make explanation easier. Normally we don’t use IP address directly. I don’t use IPv6 address at all. I can’t remember it. Any of computers or network devices should understand those IP addresses. But we human being doesn’t use it. We normally use machine name or site name. Then DNS convert these human readable machine name or host name into IPv4 or IPv6 address. We will setup personal DNS servers on FreeBSD in separate article. The google have these IP addresses.
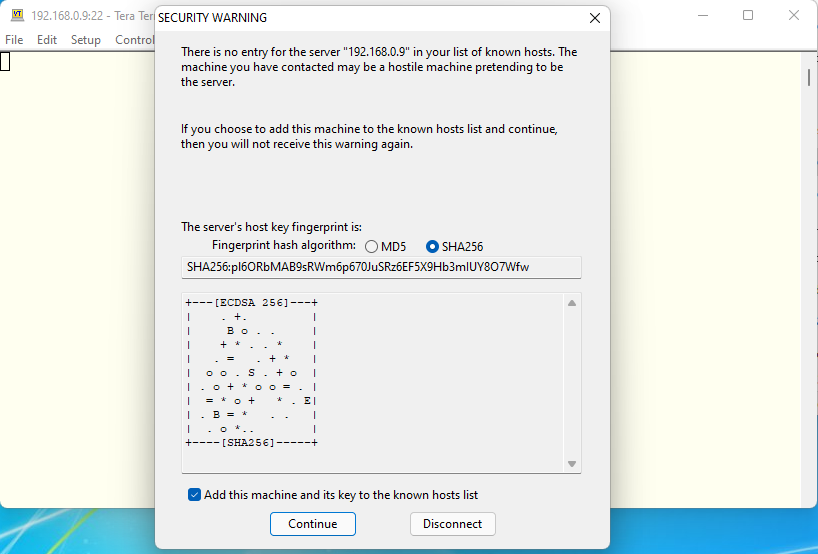
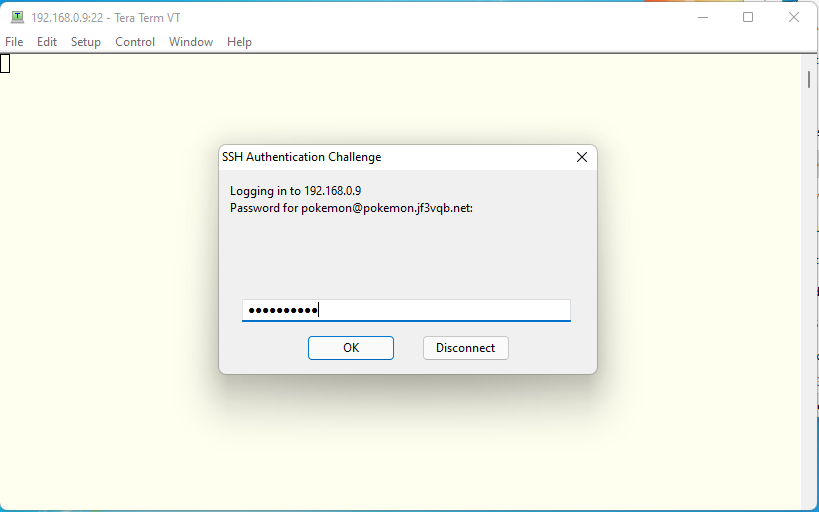
We need to get back to the original topic. We will see this message when we establish ssh connection for the first time. Tera Term says it hasn’t been visited this site before. Normally we see this message when we haven’t been visited the site before or the site we usually connect to is changed to something else. So if you are using rental server or similar in the internet and see this message suddenly, then you should be careful if the site you are connecting to is your familiar site or not. This time we haven’t established ssh connection before. So this is very normal message and we store the finger print information in a file. We can do this with setting check mark at the bottom of this message window. We used IPv4 address this time, we will see the same message when we use different addresses such as IPv6 or hostname. When we establish ssh connection next time, then Tera Term check if the finger print from a site we are connecting to is known or unknown. If it is known finger print, then we don’t see the same message. Otherwise we see the same message and we need to check if this is known site.
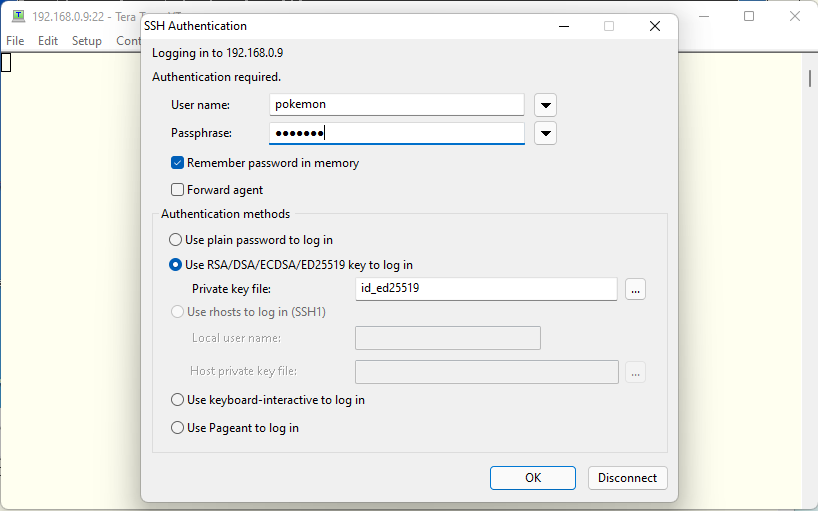
We see this message next. FreeBSD ssh doesn’t accept plain text password as the default. So the first option can’t be an option for us. The second option is for ssh connection using public/private key pair. We haven’t created any ssh keys yet. So this can’t be an option for us either. We need to use the third option for now.
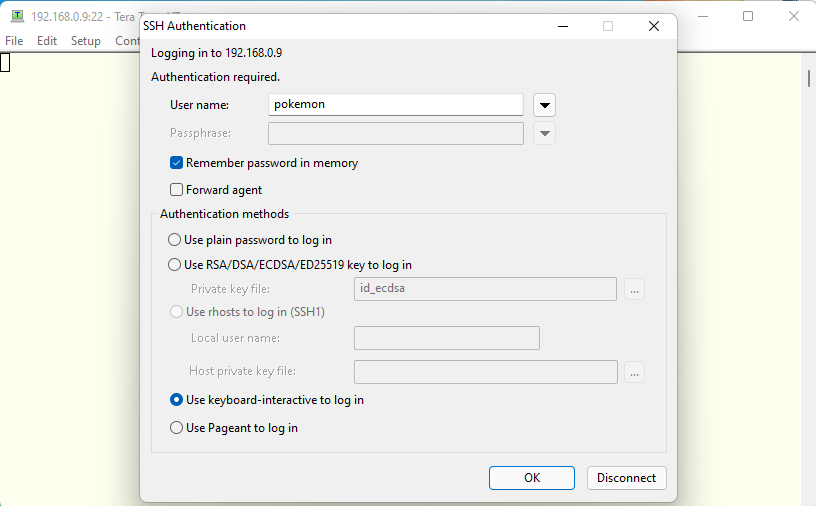
We need to use the password which we set to our user when we installed the FreeBSD OS. Tera Term create challange so called hash value and send this information to ssh server. And ssh server calculate the same value. If they are the same, then authentication will be passed. This is rather safer way to login as our password won’t go through the public network.
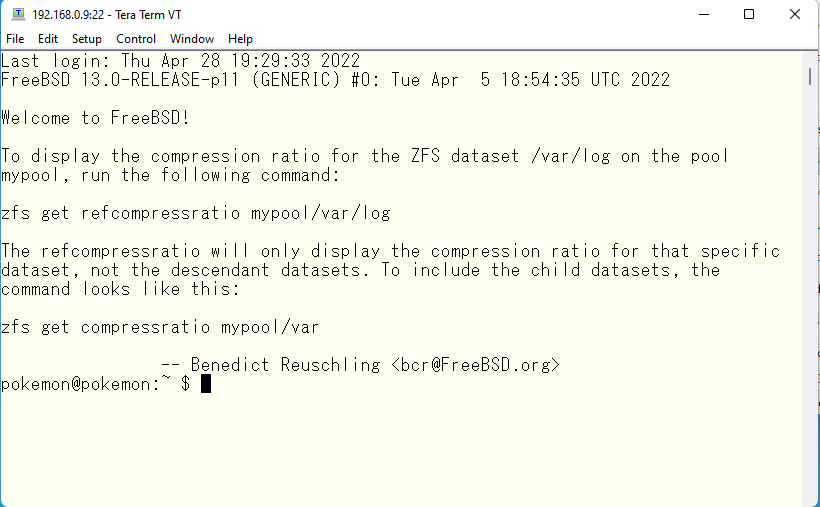
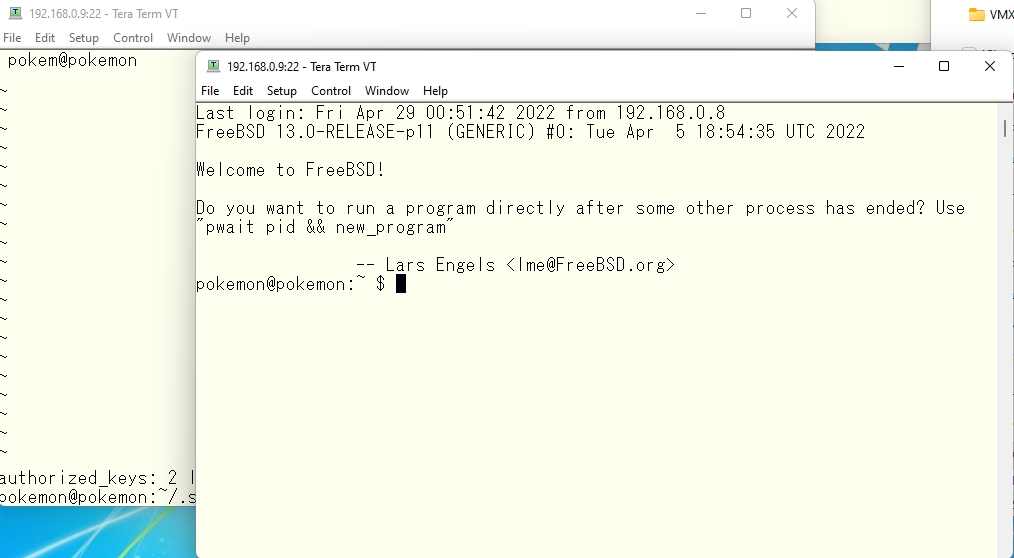
The ssh connection is like this. Don’t you think this is much better than the vmware console ?
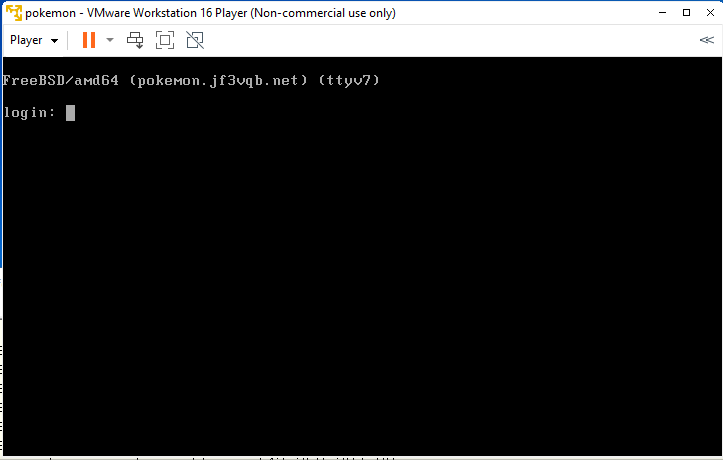
I wrote we can’t use multiple console shells at the beggining of this article. But actually we can use multiple separate shells on console. This is the same system as we see on other linux systems, we can switch the shell with Alt+F1, F2, F3…. The default shel is Alt+F1.
If you type Alt+F8 on the console, then you see like this. We can see ttyv7 at the top of this console shell. FreeBSD uses getty process and shell is switched to 8th shell on the console.
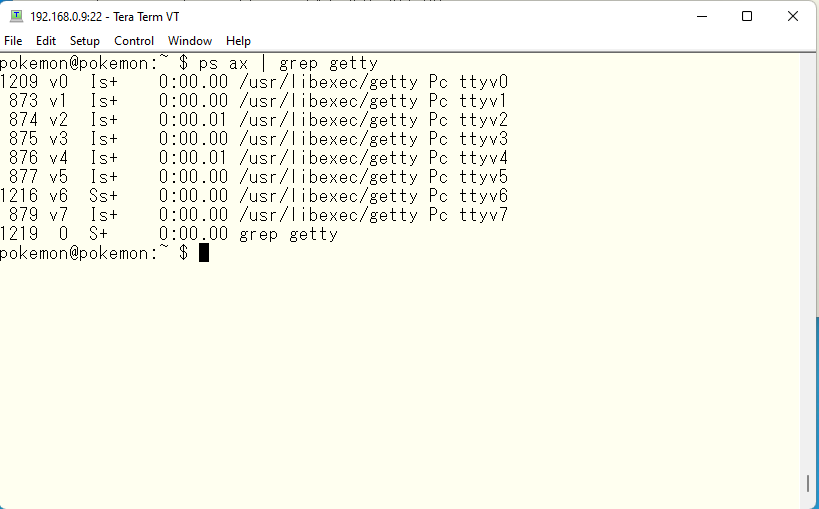
If you see the process status, then we see getty processes. They are running on from ttyv0 to ttyv7. Totally 8 virtual console can be switched with typing Alt+F1 … Alt+F8. Actually they are not physical hardware but we can specify hardware specific parameters such as baud rate, bits stop bits, parity check etc, we can use serial terminal and accept user login through RS232C or RS422 etc. If you already have FreeBSD or Linux servers in M$ Azure, then we can use console. Those console works as web application. On the other hand, Windows can use only GUI, console is not available in Windows servers. This console availability is a big advantage of FreeBSD or Linux in case we have problems. When the internet was not common like these days, email will not be delivered directly to our friend sites by MTA such as sendmail or postfix. We used UUCP to deliver emails. We often have rs232c with modem and phone line, and deliver emails like bucket-bridge-relay. The email address we used were not absolute address like now but relative address. Have you seen this kind of email address before, neighbor!friend!acquaintance ? This means a user “acquaintance” is on a system “friend” which is connected to a system “neighbor” which is next to my system “pokemon”. So my email address for a user “acquaintance” will be neighbor!pokemon!pokemon. It is long old days memory 🙂 The UUCP will run by cron periodically. So any emails won’t be delivered to the destination right away. The system administrators need to pay some money for the communication over public phone line. So rich system admnistrators may run UUCP every 10 minutes. But poor system administrators like me run UUCP every 3 hours. So we don’t know when our emails can be delivered to my friends on other systems 🙂 JFYI.
The logon shell is set to /bin/sh ( Born Shell ). This is used on any kind of UN*X like OS as the syntac is common. On Linux systems, it may be set as /bin/bash. We can consider that the /bin/bash is upper compatible of /bin/sh. I love /bin/ksh ( Korn Shell ). I want to use ksh in the near future. So I don’t change it this time.
こちらは bash がインストールされている別の FreeBSD で man bash とした出力の一部です。bash を sh として実行すると、POSIX 準拠の動きをするということが書かれています。FreeBSD では本来の /bin/sh がありますので、Linux の bash のようなシンボリックリンクは無いようです。
This is a man page for bash on other FreeBSD box which we have bash installed. If we run /bin/bash as /bin/sh, then it works as POSIX compliant shell. FreeBSD system has its own /bin/sh. So we don’t see symbolic link like Linux systems.

This is a result of ls -l /bin/sh run on a Linux system in my company.

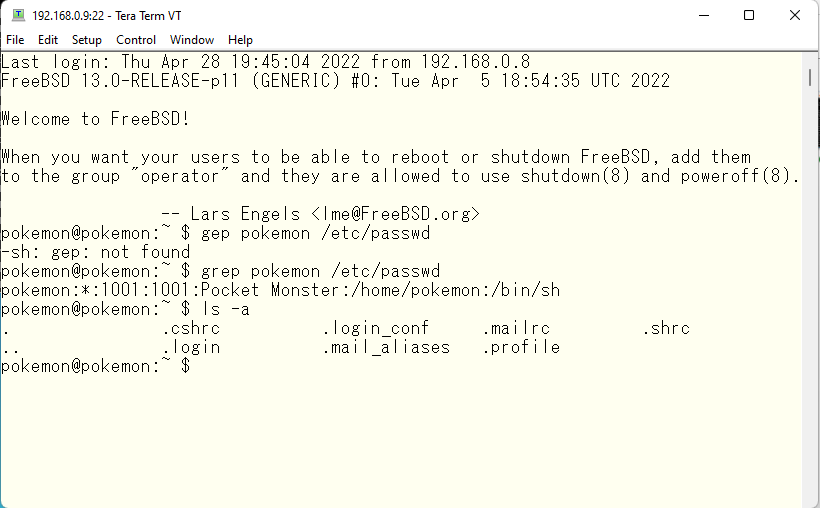
The .xxxxx files ( The files which names begin with “.” ) are configuration files for our shells. I will change my shell from /bin/sh to /bin/ksh in another article, we don’t make any changes in them now.
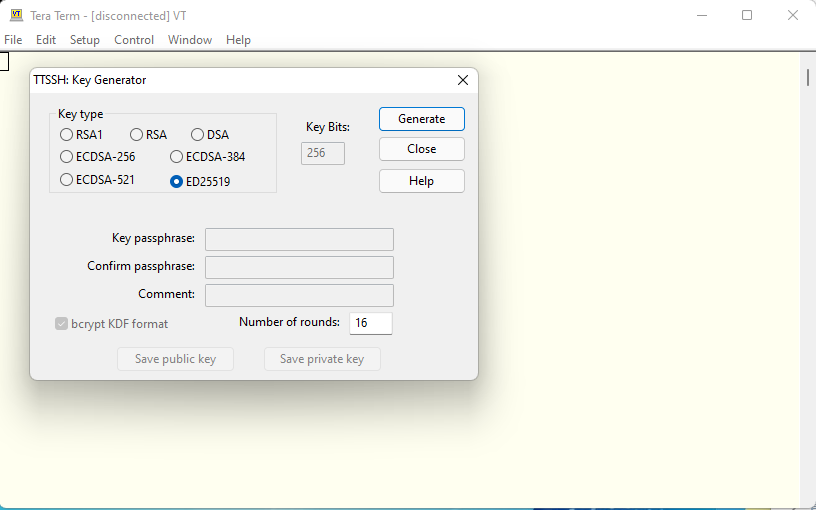
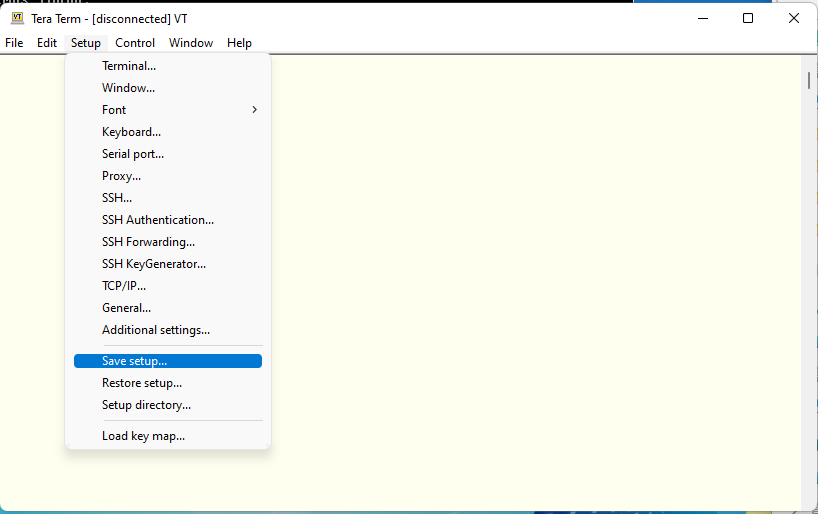
Finally we will configure Tera Term to use public/private keys. At first, we need to generate keys. Run “ssh key generator” in Tera Term.
Basically longer key is stronger. But ED25519 ( EdDSA ) is rather newer encryption. Bit length is rather shorter than others. But this is the strongest key in Tera Term. Select this and push “Generate” button.
Then you can enter a passphrase. Just type the same passphrase twice. You need to use this passphrase whenever you use your private key in Tera Term. The Tera Term understand you are the authorized person to use this private key.
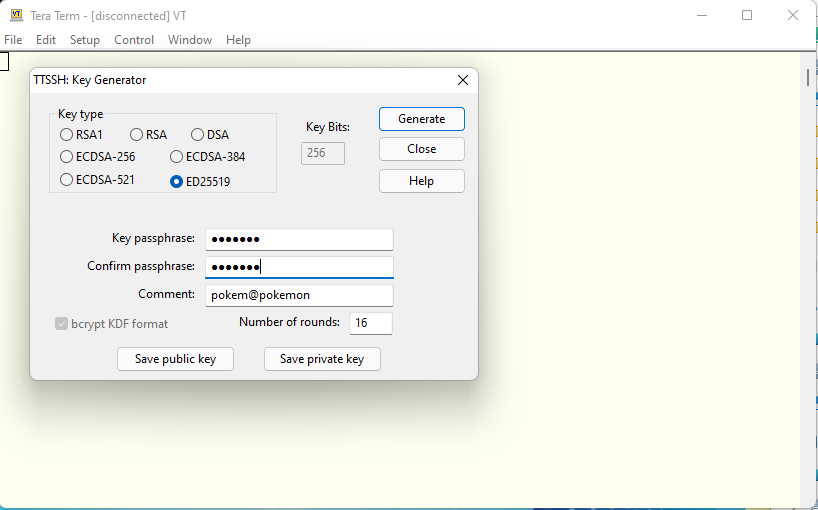
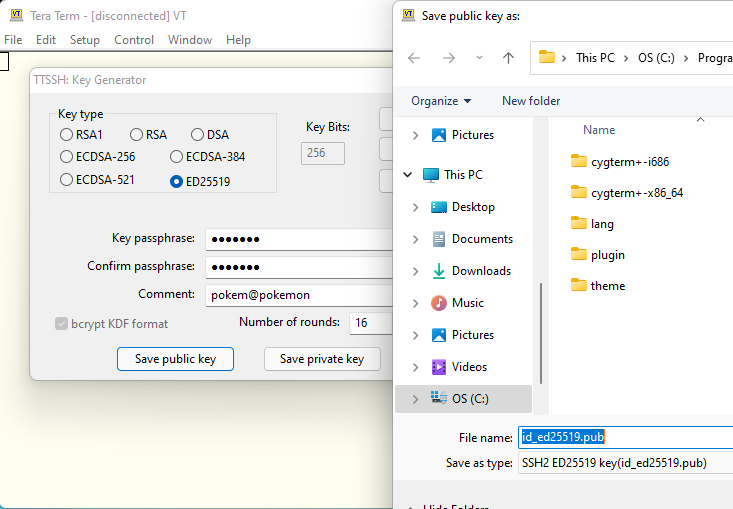
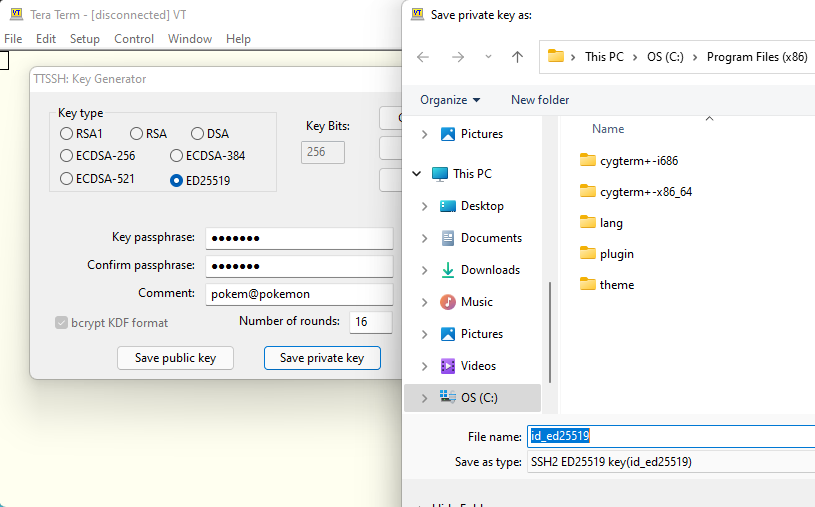
Save private key and public key.
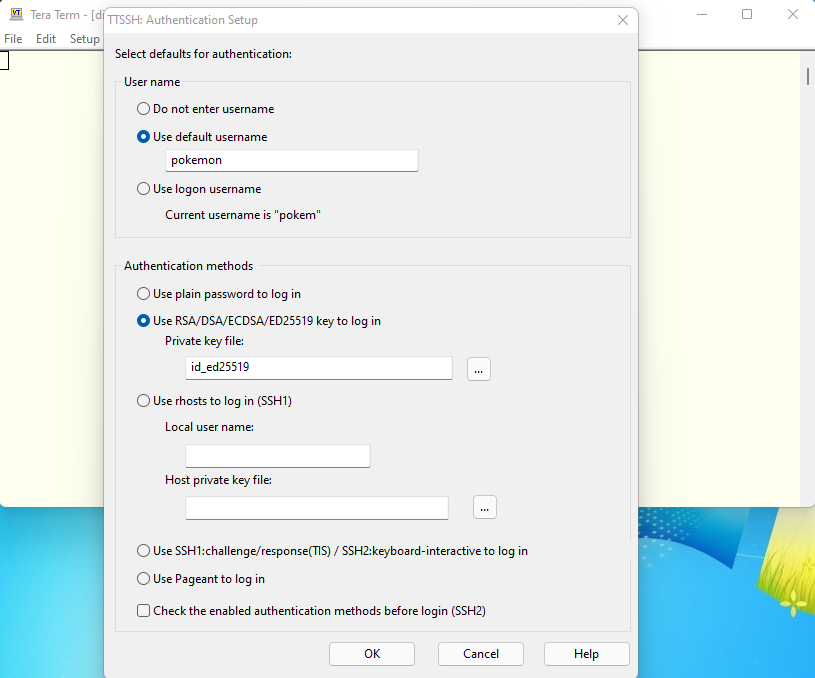
Configure the SSH authentication to use this private/public keys.

Specify the login name and private key file name. And close it.
Save the changes in a configuration file.
続いてサーバ側の設定です。このようにセキュアなディレクトリとファイルを作成します。その後、作成したファイルを編集します。当然のことながら、この接続自体を SSH などのような暗号化された伝送路上で行ってください。telnet などの素のテキストがそのまま流れる接続だと意味がありません。
We need to configue the server side next. We need to make secure directory and secure empty file first. Then we can put any text in files securely. Of course this must be done through secure connection like SSH. Do the same on telnet sessions are just nonsense.
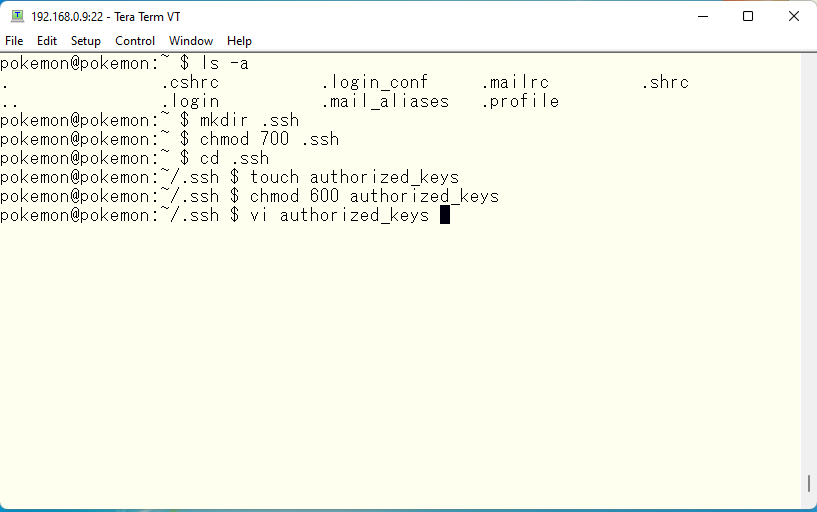
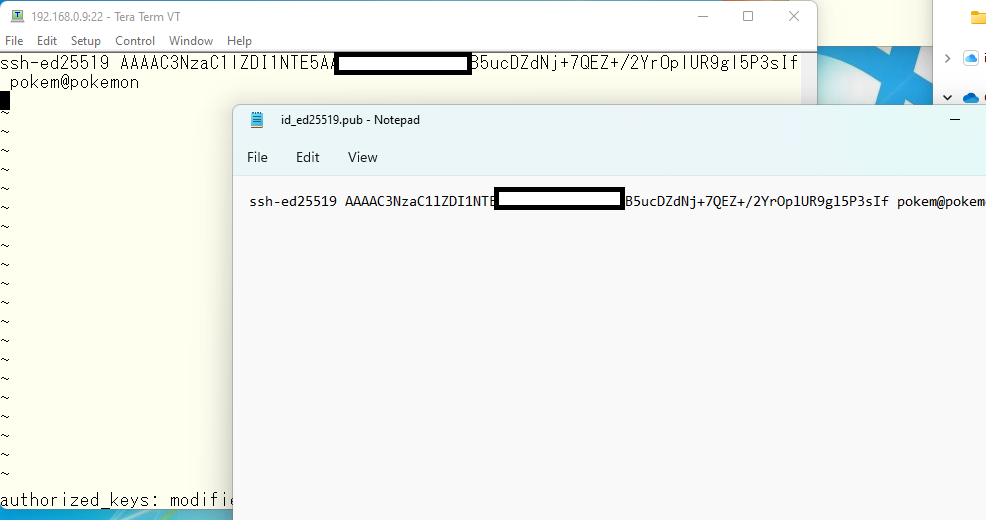
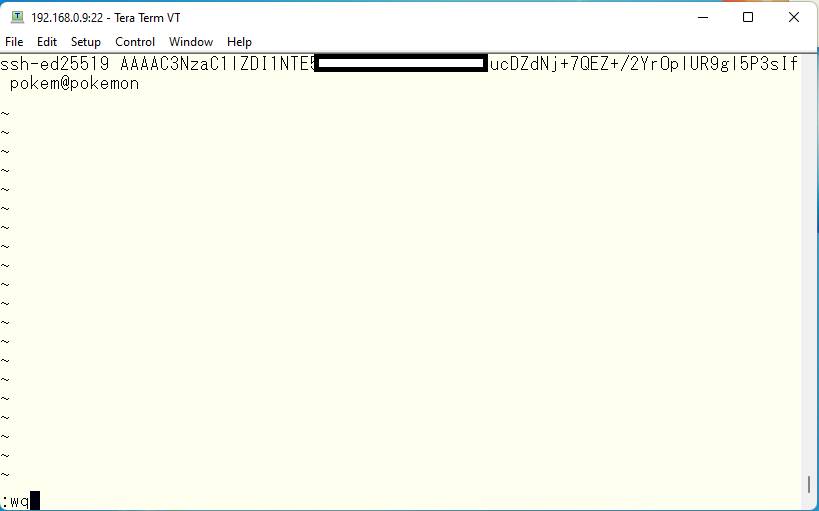
We need to keep public key on server side. The keys are just text string. We can use copy/paste to put it in a file on a server.
Everything is ready now. Saving file.
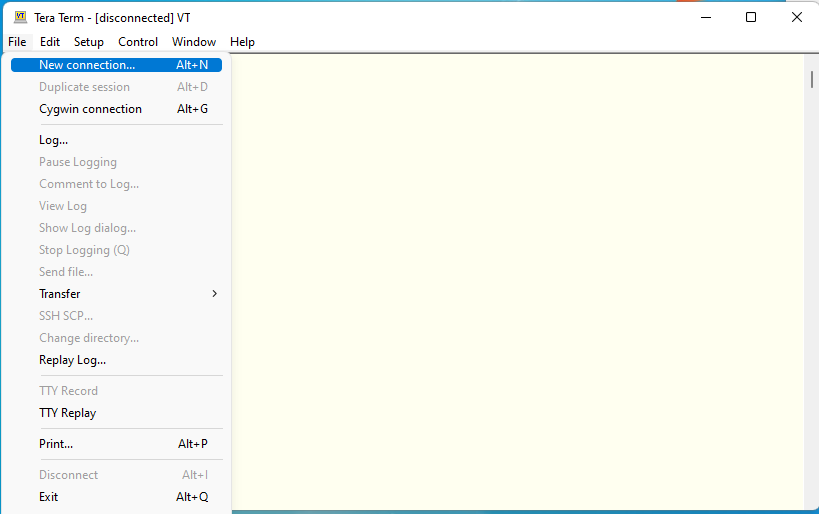
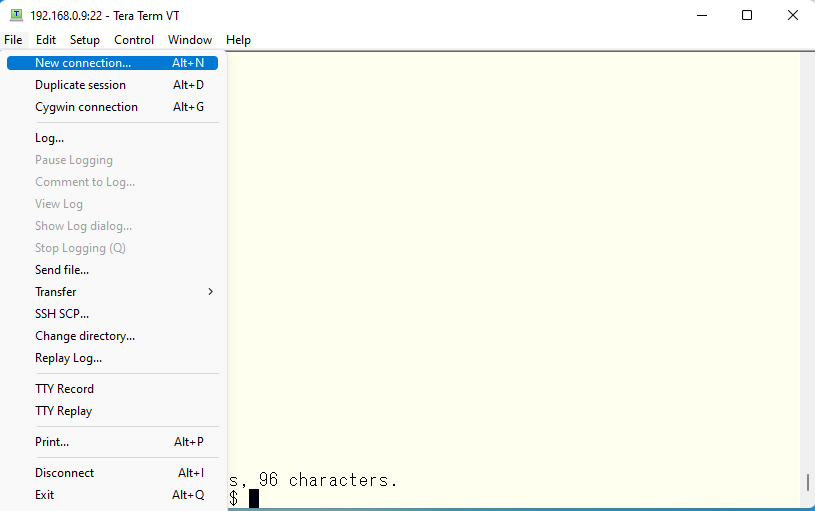
Try to establish new SSH session. Select “New connection”.
If we can us private/public key pairs to login to systems, then we can use passphrse as a kind of the system password. I already have password crisis on many type of systems. So this is very useful for me who is already old and can’t remember many passwords 🙂
Advertisement below


コメント